“How to Choose the Best Location to grow Button Mushrooms”

If you are a mushroom lover, there is nothing better than growing your own mushrooms at home. That is, grow your own mushrooms, then enjoy those freshly grown mushrooms and feed them to others. Not only is this a fun and rewarding experience, but it also ensures that you always have plenty of mushrooms. Have a fresh and healthy supply. In this comprehensive guide, I will try my best to introduce you to the step-by-step process of growing button mushrooms at home.

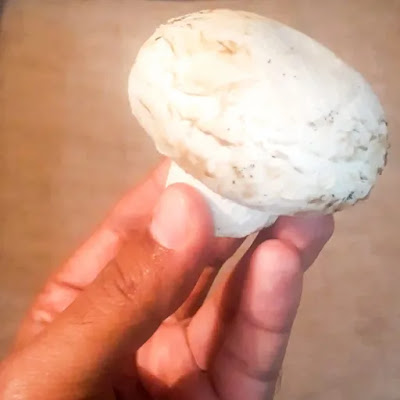
Before we begin, let’s first understand exactly what button mushrooms are?. Button mushrooms, also known as white mushrooms, are the most commonly eaten mushrooms in the world. They have a mild flavor and a firm, meaty texture, which makes them versatile in cooking. Button mushrooms are also a rich source of vitamins, minerals, and antioxidants, making them a great addition to any diet.

1. Gather your materials
To grow button mushrooms at home, you will need the following materials:
- Button mushroom spawn or spores.
- Compost or mushroom-growing substrate.
- A container for growing, such as a tray or bucket.
- A spray bottle for misting.
- Thermometer to measure temperature.

2. Prepare your growing container
Choose a container that is at least 6 inches deep and has drainage holes in the bottom. Fill the container with compost or mushroom-growing substrate, leaving about an inch of space at the top. Smooth the surface of the compost or substrate.

3. Add mushroom spawn or eggs
Mushroom spawns or spores are available at most garden centers or online stores, and even mushroom seeds can be purchased from many educational institutes at a reasonable price. So, Spread the spawn or spores evenly over the compost or substrate surface. Use a fork to gently mix the spawn or spores into the top layer of compost or substrate.

4. Incubate the container
Store the container in a warm, dark place, such as a closet, storeroom, or basement. The ideal temperature for growing button mushrooms is between 12°C (55°F) and 18°C (65°F). Make sure to use a thermometer to monitor the temperature and adjust as needed. Mist the compost surface or substrate with water daily to keep it moist.

5. Monitor progress
Within a few days, you will start to see small white spots on the surface of the compost or substrate. This is called mycelium, or the root-like structure of the mushroom. Mist the surface daily and wait for the mycelium to completely colonize the compost or substrate.

6. Provide lighting
Once the mycelium has fully colonized the compost or substrate, it is time to provide light. Keep the container in a well-lit area, but not in direct sunlight, be very careful. Button mushrooms need light to grow, but direct sunlight can dry out the compost or substrate.

7. Harvest your mushrooms
Within a few weeks, you will begin to see small button mushrooms on the surface of the compost or substrate. Harvest the mushrooms by gently rolling them off the surface. Be sure to harvest them when the caps are fully open but before the gills begin to darken.
Conclusion
Finally, growing button mushrooms at home is a simple and fun process. By following these simple steps, you’ll have a fresh and healthy supply of mushrooms right at home. So, why not try it?


1 thought on “How to Choose the Best location to grow Button Mushrooms”