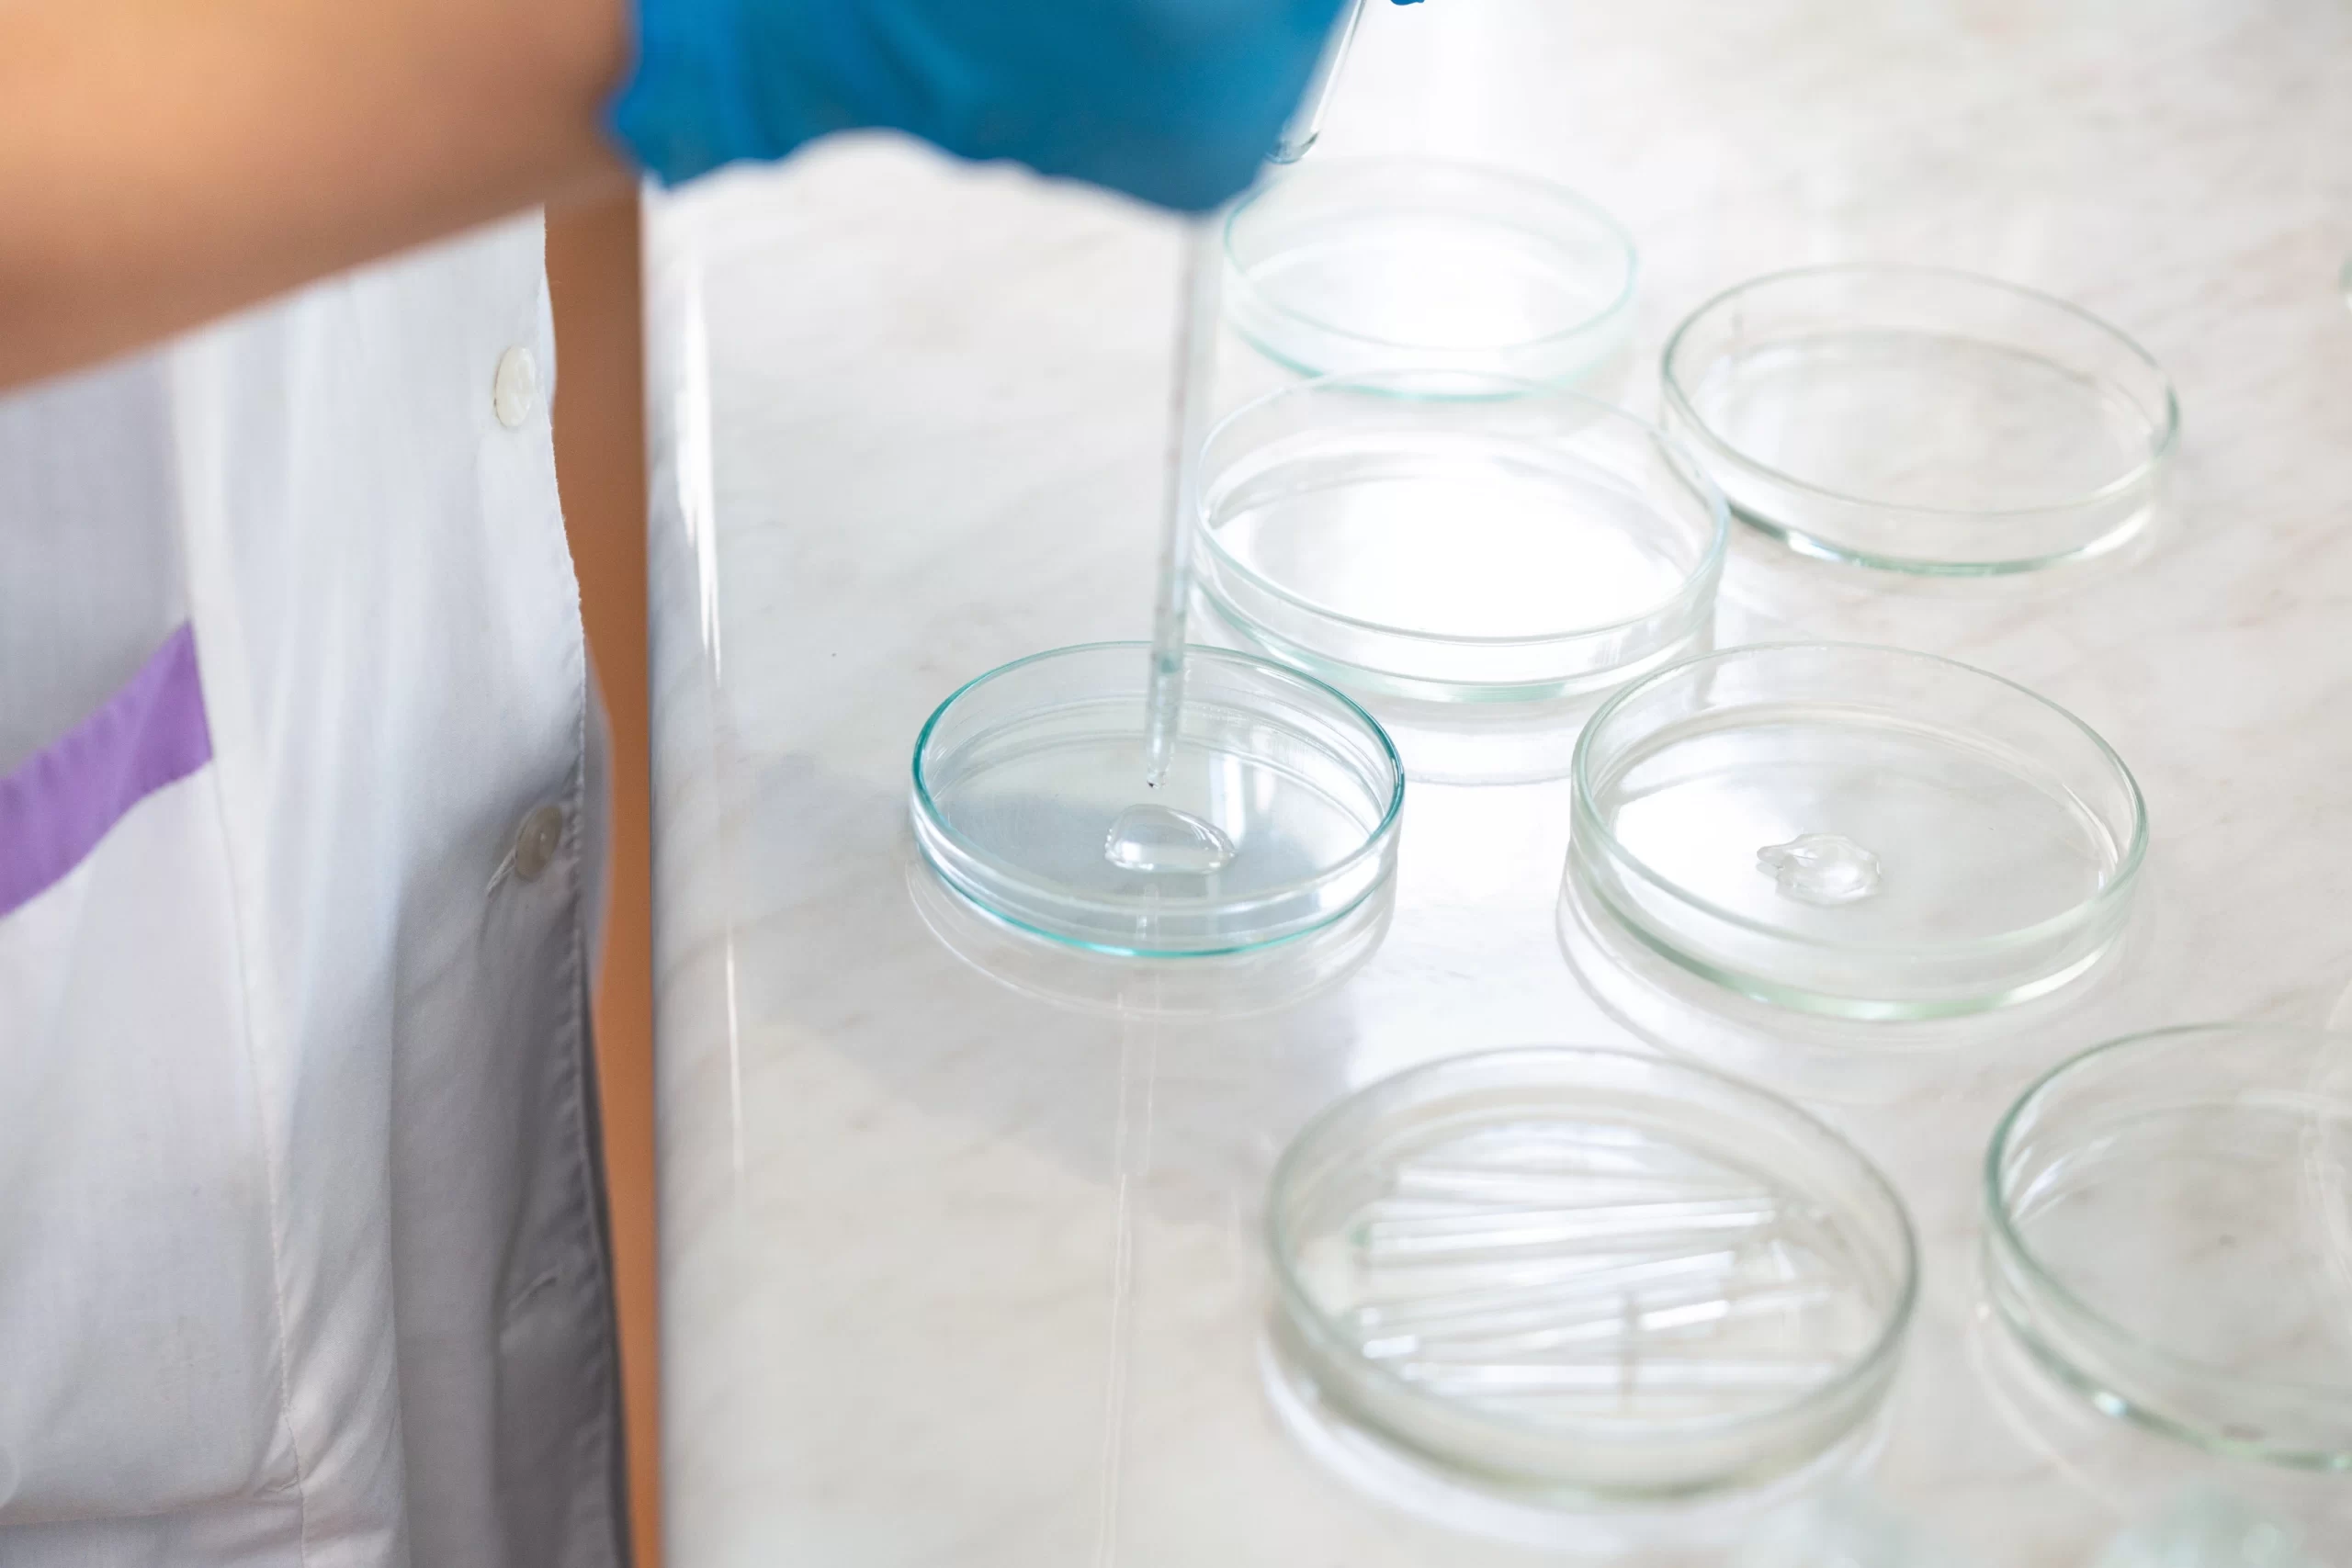
Chemical Sterilization for Surfaces and Glassware in Lab by maintaining a sterile environment is paramount for obtaining accurate & reliable experimental results. Chemical sterilization offers a highly effective method for decontaminating surfaces & glassware, including essential items like graduated cylinders, Petri dishes, flasks, & beakers. In this blog, we will jump into the procedures for the Chemical Sterilization of Surfaces and Glassware in the Lab using various chemical solutions. We aim to equip laboratories with the knowledge & practical tips required to implement safe & efficient chemical sterilization practices, ensuring they stand out from the competition.

1. Sodium Hypochlorite (1%) Surface and Glassware Sterilization
Chemical sterilization for surfaces & glassware in a lab is of utmost importance, & Sodium hypochlorite, commonly known as bleach, stands as one of the most effective disinfectants for this purpose. To prepare a 1% solution, follow these smart steps:
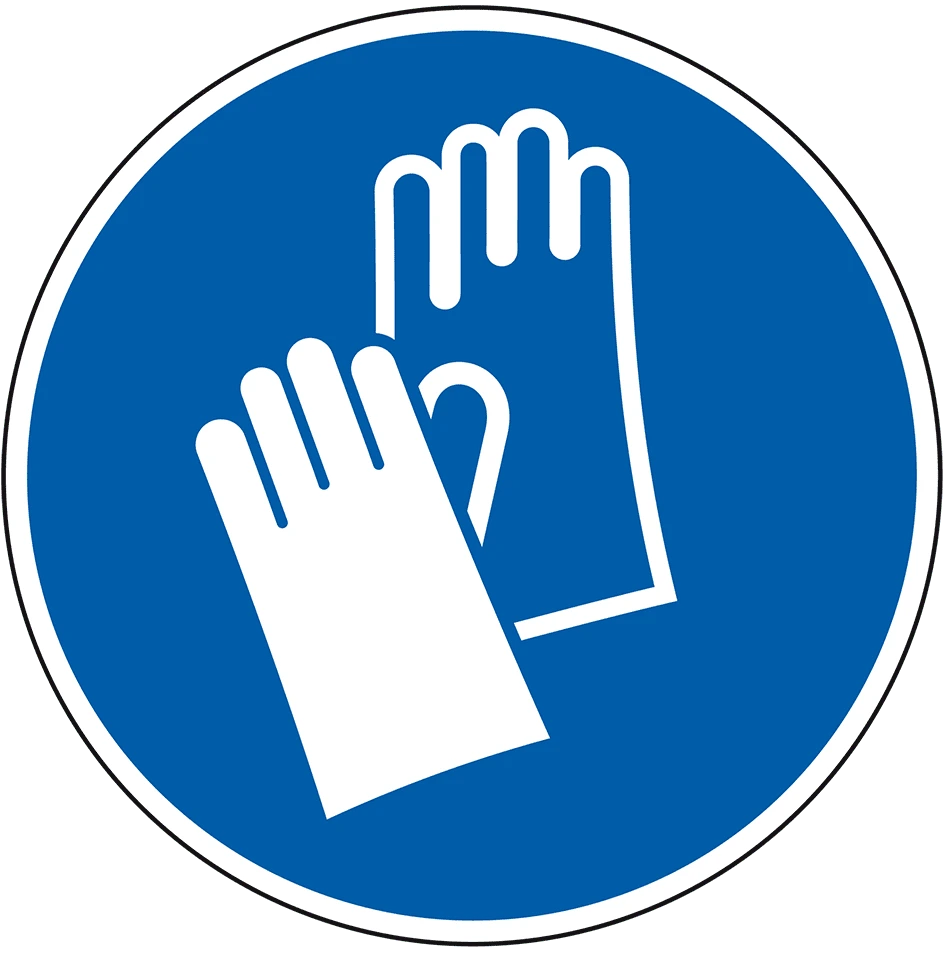
Prioritize Safety: Wear Appropriate Personal Protective Equipment (PPE)
Before handling any chemical solutions, ensure your safety by wearing gloves & safety goggles.
Prepare the Solution:
In the lab, combine 10% sodium hypochlorite and distilled water to produce a 1% chemical sterilization solution for surfaces & glassware. For instance, mix 100 ml of 10% sodium hypochlorite with 900 ml of water that has been distilled to get a 1-litre solution. This will yield an effective and safe sterilization solution for your laboratory needs.
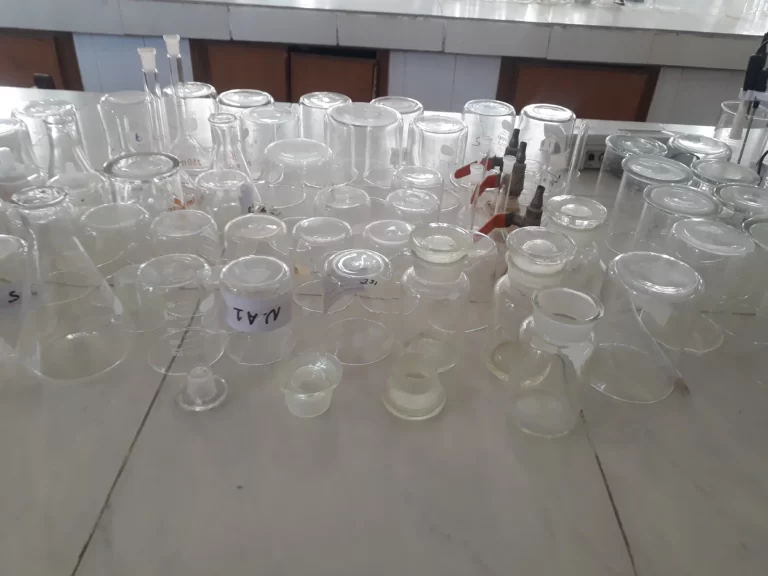
Thoroughly Clean the Glassware:
Before applying the solution, thoroughly clean the glassware to remove any evident impurities or debris.
Application of the Solution
Uniformly apply the 1% sodium hypochlorite solution to the surface or submerge the glassware in it.
Contact Time:
To achieve effective sterilization, allow the solution to stay in contact with the surface or glassware for a minimum of 1 minute.
After the designated contact time, thoroughly rinse the surface or glassware with sterile water to eliminate any remaining traces of sodium hypochlorite. This step ensures that the sterilized items are free from any chemical residues, promoting a safe & contamination-free laboratory environment.
Formula and Example:
To prepare 1 litre of 1% Chemical Sterilization for Surface & Glassware in Lab, given 10% sodium hypochlorite:
| C1 (concentration of stock solution) = 10% V1 (volume of stock solution) =? C2 (desired concentration) = 1% V2 (desired volume) = 1 litre (1000 ml) |
Use the formula C1V1 = C2V2 to calculate the volume of the stock solution needed:
V1 = (C2V2) / C1 = (1% X 1000 ml) / 10% = 100 ml
Therefore, make 1 litre of 1% Chemical Sterilization for Surface and Glassware in the Lab by mixing 100 ml of 10% sodium hypochlorite with 900 ml of distilled water.

2. Phenol (1%) Surface and Glassware Sterilization
Phenol serves as a potent disinfectant, commonly utilized for the Chemical Sterilization of Surfaces and Glassware in Laboratories. To create a 1% solution, follow these smart steps:
Wear Appropriate PPE: Prioritize your safety by wearing gloves & safety goggles throughout the process.
Prepare the Solution: Dilute pure phenol with distilled water to achieve a 1% solution. For example, to prepare 1 litre of 1% Chemical Sterilization for Surfaces and Glassware in the Lab, mix 10 ml of pure phenol with 990 ml of distilled water.
Thoroughly Clean the Surface or Glassware:
Before utilizing the solution, it is essential to conduct a thorough cleaning of the surface or glassware. Remove any visible dirt or debris to ensure effective sterilization.
Application of the Solution
For glassware sterilization, immerse the items in the solution. Alternatively, for surface sterilization, uniformly apply the 1% phenol solution to the desired surface.
By adhering to these steps, you can achieve successful sterilization of both glassware & surfaces, ensuring a safe & uncontaminated laboratory environment.
Contact Time: Allow the solution to remain in contact with the surface or glassware for at least 10 to 30 minutes for effective sterilization.
Rinse with Sterile Water: After the contact time, rinse the surface or glassware thoroughly with sterile water to remove any residual phenol.
Formula and Example:
To prepare 1 litre of 1% Chemical Sterilization for Surfaces and Glassware in Lab, given pure phenol (100%):
| C1 (concentration of stock solution) = 100% V1 (volume of stock solution) =? C2 (desired concentration) = 1% V2 (desired volume) = 1 litre (1000 ml) |
Using the formula C1V1 = C2V2, calculate the volume of the stock solution required:
V1 = (C2V2) / C1 = (1% X 1000 ml) / 100% = 10 ml
Mix 10 ml of pure phenol with 990 ml of distilled water to obtain 1 litre of 1% Chemical Sterilization for Surface and Glassware in the Lab.

3. Hydrogen Peroxide (3%) Surface and Glassware Sterilization
Strong oxidizer hydrogen peroxide is well-known for its ability to sterilize. A 3% solution doesn’t require any dilution. Follow these smart steps:
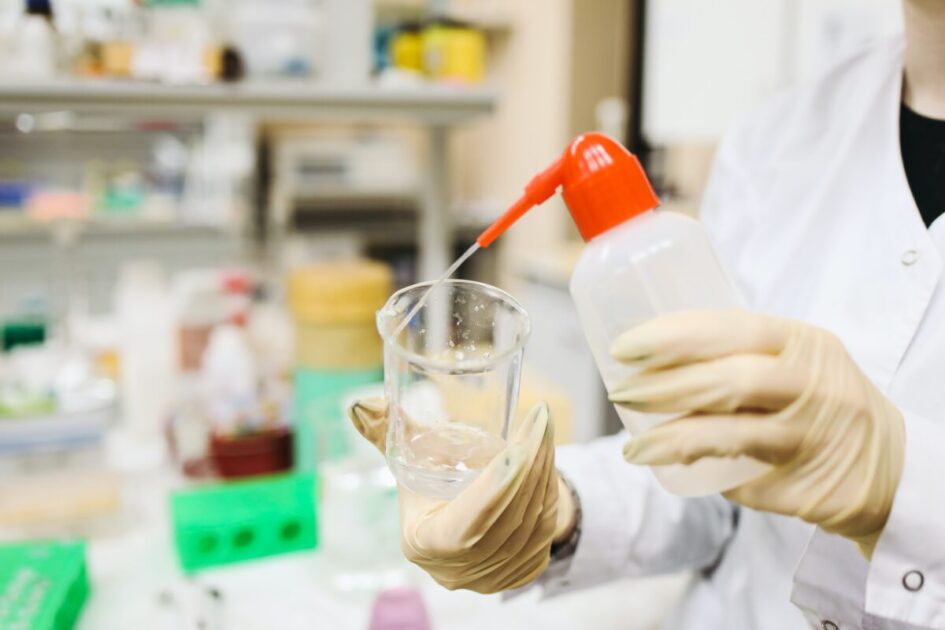
Wear Appropriate PPE: Prioritize safety by wearing gloves & safety goggles while handling hydrogen peroxide.
Clean the Surface or Glassware: Clean the surface or glassware thoroughly to get rid of any apparent dirt & debris.
Efficient Surface Sterilization Techniques:
When it comes to surface sterilization with the 3% hydrogen peroxide solution, you have two effective methods to choose from:
1. Spray Bottle Method:
Utilize a spray bottle filled with the 3% hydrogen peroxide solution to apply it evenly across the desired surface. Ensure complete coverage by spraying the solution uniformly.
2. Sterile Gauze Method:
Alternatively, take a piece of sterile gauze, soak it in the 3% hydrogen peroxide solution, and use it to wipe and apply the solution on the surface.

Glassware Sterilization Technique
To sterilize glassware effectively, immerse it in the 3% hydrogen peroxide solution & let it soak for a minimum of one hour. This contact time guarantees thorough sterilization of the glassware.
By employing these efficient methods, you can confidently achieve proper sterilization for both surfaces & glassware in your laboratory.
Contact Time: Allow the solution to remain on the surface for at least 1 minute or 1 hour for glassware to ensure effective sterilization.
Rinse with Sterile Water: After the contact time, rinse the surface or glassware thoroughly with sterile water to remove any residual hydrogen peroxide.
No dilution formula is required since hydrogen peroxide is used as is (3% hydrogen peroxide).

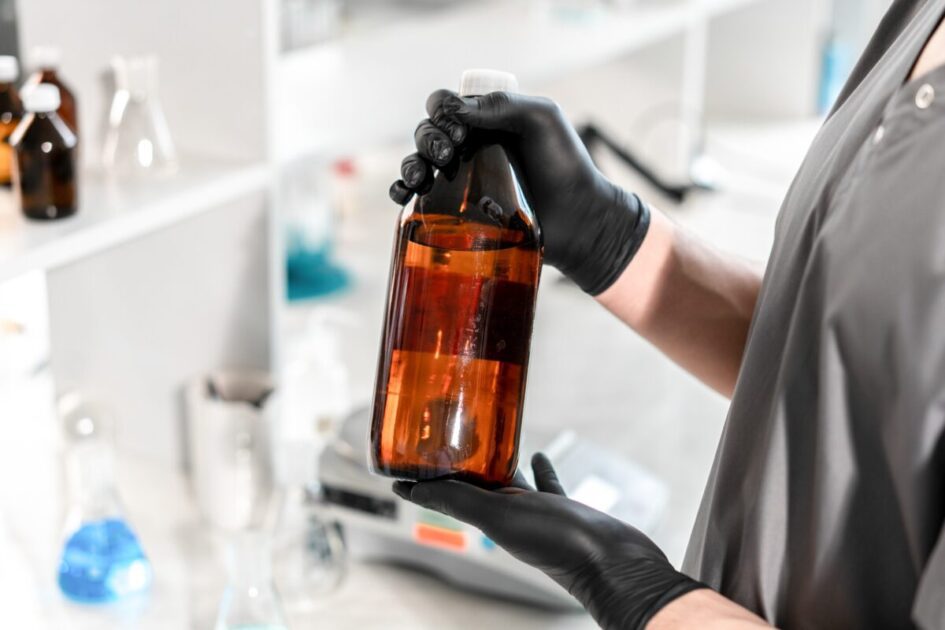
4. Ethanol (70%) Surface and Glassware Sterilization
Ethanol is a widely used disinfectant due to its effectiveness & quick evaporation. Use 70% ethanol without any dilution. Follow these smart steps:
Ensure Personal Safety: Wear Appropriate PPE.
Before starting the sterilization process, prioritize your safety by wearing gloves & safety goggles.
Thoroughly Clean the Surface or Glassware.
To achieve optimal sterilization results, make sure to thoroughly clean the surface or glassware to remove any visible dirt & debris.

Application of the 70% Ethanol Solution
For surface sterilization, use a spray bottle or soaked sterile gauze to evenly apply the 70% ethanol solution. For glassware, immerse it in the solution and let it soak for at least 1 minute.
Contact Time for Effective Sterilization:
Allow the 70% ethanol solution to remain on the surface for at least 1 minute, & for glassware, ensure a contact time of 1 minute as well. This ensures thorough & effective sterilization.
By following these steps, you can successfully sterilize both surfaces & glassware, creating a safe & controlled environment in your laboratory.
Air Dry: Allow the surface or glassware to air dry, as ethanol will evaporate, leaving the items sterile.
No dilution formula is required since ethanol is used as is (70% ethanol).

Important Note:
After Chemical Sterilization for the Glassware in Lab, it is crucial to rinse the surface or glassware thoroughly with sterile water to remove any remaining chemical residue. This step is essential to prevent interference with experiments or contamination.
By following this Chemical Sterilization for Surfaces and Glassware in Lab procedures, laboratories can maintain a clean & controlled environment, ensuring reliable & reproducible results in their experiments. Always remember to adhere to laboratory safety guidelines & properly dispose of used sterilization solutions.

formaldehyde (37%)Surface and Glassware Sterilization
Surface Sterilization Procedure:
When it comes to surface sterilization, employing the appropriate steps & precautions is of utmost importance. Below, you will find smart info on the formaldehyde (37%) surface sterilization process.
Personal Protective Equipment (PPE) Precautions:
Prior to initiating the sterilization process, ensure you are wearing the necessary personal protective gear, such as gloves & safety goggles. This precautionary measure will help to guard you against potential exposure to formaldehyde.
Preparation of 2% Formaldehyde Solution:
Begin by preparing a 2% formaldehyde solution. To achieve this, dilute 20 ml of 37% formaldehyde with 980 ml of distilled water, effectively creating a 1-litre solution. Thoroughly mix the two components to ensure proper dilution.
Surface Cleaning:
Before applying the formaldehyde solution, clean the surface intended for sterilization. Eliminate any visible dirt or debris to optimize the efficacy of the sterilization process.
Application of Formaldehyde Solution
Utilize a spray bottle or sterile gauze soaked in the 2% formaldehyde solution to evenly apply it to the surface. Ensure comprehensive coverage, as this will guarantee an effective sterilization process.
Contact Time:
Allow the formaldehyde solution to remain on the surface for a minimum of 10 minutes. This contact time is crucial in achieving optimal sterilization results.
Removal of Excess Formaldehyde:
Once the designated contact time has elapsed, proceed to wipe off any excess formaldehyde using a clean, sterile cloth. Alternatively, you may allow the surface to air dry, ensuring the formaldehyde is absorbed thoroughly.
Formaldehyde (37%) Glassware Sterilization:
Sterilizing glassware, such as graduated cylinders, Petri dishes, flasks, and beakers, requires a slightly different approach. Follow these steps for the formaldehyde (37%) glassware sterilization procedure:
Personal Protective Equipment or Gear (PPE) Precautions:
Before handling the glassware & formaldehyde, don the necessary PPE, including gloves & safety goggles, to safeguard against potential exposure.
Preparation of 2% to 4% Formaldehyde Solution:
Create the sterilizing solution by diluting 20 ml of 37% formaldehyde with 980 ml of distilled water to achieve a 2% solution. For a 4% solution, mix 40 ml of 37% formaldehyde with 960 ml of distilled water, again making 1 litre of solution.
Glassware Cleaning:
Thoroughly clean the glassware, ensuring the removal of any kind of visible dirt or debris before sterilization.
Submergence in Formaldehyde Solution:
Immerse the glassware in the 2% to 4% formaldehyde solution, ensuring all items are fully submerged.
Contact Time:
Allow the glassware to soak in the solution for a minimum of 30 minutes. This duration is essential to achieving effective sterilization.
Rinse with Sterile Water:
After the required contact time has elapsed, carefully rinse the glassware with sterile water to eliminate any residual formaldehyde.
Make sure, when working with formaldehyde, always prioritize safety & adhere to proper guidelines. Ensure adequate workspace ventilation & dispose of waste materials as per recommended procedures. Following these measures will help ensure successful sterilization while safeguarding the well-being of all individuals involved in the process.
Conclusion
This smart post provides laboratories with valuable insights into easily achieving Common Chemical Sterilization for Surface and Glassware in the Lab. By implementing these procedures & adhering to safety guidelines, laboratories can maintain a sterile environment, ensuring accurate & reliable experimental outcomes. Emphasizing the importance of proper sterilization & the use of different chemical solutions, this post aims to become a valuable resource for researchers & laboratory professionals or students, ultimately in addition to similar articles or blog posts & securing its position for Chemical Sterilization for Surface and Glassware in Lab.
FAQs:
Q: What is Chemical Sterilization, & why is it crucial in laboratory work?
A: Chemical sterilization is a highly effective method used in laboratories to ensure surfaces & glassware are free from contaminants, creating a sterile environment for accurate & reliable experimental outcomes. By employing various chemical solutions, this process eliminates harmful microorganisms, safeguarding the integrity of essential lab equipment.
Q: Which chemical solutions are commonly used for Surface & Glassware Sterilization?
A: For surface & glassware disinfection in laboratories, the most common chemical solutions are Sodium Hypochlorite (1%), Phenol (1%), Hydrogen Peroxide (3%), & Ethanol (70%).
Q: How can I make a 1% solution of sodium hypochlorite for sterilisation?
A: You must mix 10% Sodium Hypochlorite with distilled water to make a 1% Sodium Hypochlorite solution. For instance, combine 100 ml of 10% sodium hypochlorite with 900 ml of distilled water to get a 1-litre solution.
Q: How should I practise safety when handling chemical sterilization solutions?
A: Ensuring safety is paramount when dealing with chemical sterilization solutions. Always prioritize Personal Protective Equipment (PPE) by wearing gloves & safety goggles to safeguard yourself from potential hazards.
Q: How can I effectively sterilize glassware using Phenol?
A: Prepare a 1% solution by combining 10 ml of pure phenol with 990 ml of distilled water to obtain efficient sterilization. To guarantee successful sterilisation, thoroughly clean the glassware before applying the solution, then leave the solution in contact with the glass for 10 to 30 minutes.
Q: Do I need to dilute hydrogen peroxide (3%) before using it for sterilization?
A: Hydrogen Peroxide (3%) can be used as is for sterilization & does not require dilution. Its potent properties make it effective for both surface & glassware sterilization.
What are the suggested contact times for sterilization using hydrogen peroxide (3%), & how long should they last?
Hydrogen peroxide (3%), when used for surface sterilization, must be allowed to come into contact with the surface for at least a minute. To achieve full sterilization, submerge glassware in the solution & let it soak for at least one hour.
How should I properly use Ethanol (70%) for Surface & Glassware Sterilization?
Use a spray bottle to distribute the solution uniformly for surface sterilisation using ethanol (70%) or sterile gauze soaked in the solution. For efficient sterilisation of glassware, submerge the glassware in the solution for at least one minute.
Is it necessary to rinse the surface or glassware after chemical sterilization?
Yes, after chemical sterilization, it is vital to rinse the surface or glassware thoroughly with sterile water. This step removes any remaining chemical residue, ensuring it doesn’t interfere with experiments or cause contamination.
What are the advantages of using chemical sterilisation techniques in a lab setting?
Chemical sterilisation protocols allow laboratories to keep a clean, regulated environment that produces dependable, repeatable experimental results. Cross-contamination can be avoided with the use of good sterilisation procedures, protecting lab workers & maintaining the integrity of scientific investigations.
Click: To read more about Laboratory Glassware, cleaning and Sterilization